That could SO be my last meal, and I would die a happy man.
Well, then again, there is the Blackberry Tea, and the Honey Lavender. 1 scoop of everything on the menu please... OK, make it 2.
One thing I noticed on their menu was a Malted Chocolate. OK, I can make that one and feed my need for Ice Cream or rather, Gelato. Granted my recipe is really only Malted, sans chocolate, but that's OK with me... it's really the Malt I am after anyway. I adore Malt.
Science time! I haven't done this is awhile, so bare with me.
Malt is a godsend to Bakers. Producing higher rises in yeasted products as well as providing more "browning" power and a subtle yet highly flavorful "sweetness". Yeast love Maltose, or Malt; the "sugar" that is produced by grain when it begins to sprout and the amylases enzyme begins to break down the starches in the grain. The Maltose resulting from this process is a disaccharide consisting of 2 Glucose molecules where as Sucrose, or table sugar, is a disaccharide of Glucose and Fructose. Maltose is 1/2 as "sweet" as pure glucose and about 1/3 as sweet as Sucrose (table sugar)
Malt is also the foundation of beer, allowing brewmeisters around the world to provide us with copious amounts of fermented "grain juice" in a plethora of styles. Some more "artful" than others, but it's beer none the less. For it is the maltose produced by "mashing" that gives the little yeasty beasties something to chow on and produce alcohol. In the same way, Malt, when added to baked goods, allows a different strain of yeast beast to bulk up and burp up, not alcohol, but carbon dioxide (along with several other flavor compounds that lend acidity to the dough)... providing rise. Thanks be to Malt and Yeast!
Malt comes in 3 forms... Diastic and Non-Diastic and Extract.
Diastic Malt is, in essence, the "Baking Malt" as it still contains the amylases enzyme that breaks down starches into sugars. This is advantageous for baked goods. Not only have you added Maltose to give the yeast a "shot in the arm" but the enzymes will continue to break down the starches in the Wheat (or other) flour to produce more sugars for the yeast. A very beneficial arrangement to be sure, if one wants a beautifully risen loaf of bread.
Non-Diastic Malt, on the other hand, contains no enzymes, though it can still be added to baked goods to impart it's distinctive flavor, feed the yeast and aid in browning. It is also easier for the home cook to find. This is your typical "Malted Barley Flour" in the mega mart. Though both Diastic and Non-Diastic are sprouted barley that has been dried out and ground into "flour". It is the Non-Diastic Barley Malt that is combined with Wheat flour, milk solids and sucrose sugar to create such beverage favorites as Carnation Malted Milk Powder, Ovaltine Malt and Horlicks.
Then there is the Malt Extract, which is a slightly different animal all together, and comes in both liquid (syrup) and dry powder. This is where my beer brewing knowledge comes into play. Barley (preferably) is soaked in water until the grain begins to sprout, this starts the amylases working on the starch and breaking it down into Maltose. The grain is then heat dried, which stops the sprout from consuming the Maltose and growing, but allows the enzymes to continue breaking down the starches, producing more and more Maltose.
(Just for a little more background, a starch is a long chain of glucose molecules, which is how plants not only store food {amylose and amylopectin}, but maintain their structure; for glucose is also used by plants to manufacture the cellulose in plant cell walls.)
Once the Maltose content hits a certain level, its time for "Mashing", meaning the sprouted grain is then boiled (at a specific temperature) to break down even more starch and dissolves or extracts the maltose from the grain. At this point you have a maltose saturated solution (after the grain has been filtered out) called "Wort". Now if you were gonna make beer, you would go ahead and add brewer's yeast to this liquid and let them create a nice Lager or something (you have to add some unmalted roasted grain during the mashing process to make Stout/Porter) But, if you continue to cook the wort down and reduce the water content, you can create Liquid Malt Extract (syrup) or even better, remove all the moisture all together and make Malt Extract Powder; which is what I am going to use to make my Malted Gelato.
Whew! OK, Science lesson over.
On with the Gelato!!!
To make this as Ice Cream, switch the Heavy Cream and Half & Half - Meaning use 1 cup of Half & Half with the Malt Extract Powder and use 2 cups Heavy Cream when cooking the custard. Also, run the ice cream machine for a longer period of time, until it climbs to the top of the dasher, to ensure you have incorporated enough air.
One final note, if you cannot find Malt Extract Powder, and are using either Carnation Malted Milk Powder, Horlicks, Ovaltine Malt or you have decided to go with Chocolate Malt and are using Nestle Milo or Ovaltine Chocolate Malt, I would reduce the sugar to 1/4 cup and mix it with the egg yolks. All of the products listed above contain varying quantities of sucrose sugar already.
Malted Milk Gelato
 1 cup (236 ml) Heavy Cream
3/4 cup (100 g) (3.5 oz) Malt Extract Powder
1/2 cup (100 g) (3.5 oz) Granulated Sugar; divided
2 cups (473 ml) Half & Half
pinch of Kosher Salt
1 tsp Vanilla Extract
5 Large Egg Yolks
In a large bowl, combine the Malt Powder and 1/4 cup (50 g) of the sugar.
 Add the Heavy Cream and whisk to combine, then set aside.
 Pour Half & Half into a medium saucepan, add a pinch of Kosher Salt and the Vanilla Extract; place over medium heat and bringing the cream up to about 160 degrees.
 Meanwhile, in a small bowl, whisk the egg yolks with the remaining 1/4 cup (50 g) sugar, until pale.
 When the Half & Half is hot, add a ladle full (or 2) of the hot liquid to the egg yolks, while whisking constantly in order to condition the yolks and prevent scrambling them.
 Once the Yolks have been heated through, pour the Yolk mixture into the sauce pan.
 Return the saucepan to the stove and continue cooking, while whisking constantly, until the mixture reaches about 185 degrees; or the mixture coats the back of a spoon.
 Remove the custard from the flame and pour through a fine strainer into the Malt/Heavy Cream mix.
 Whisk everything together and then place in an ice bath, stirring occasionally until the mixture is chilled.

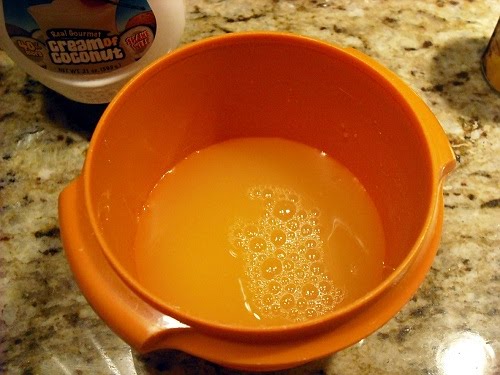
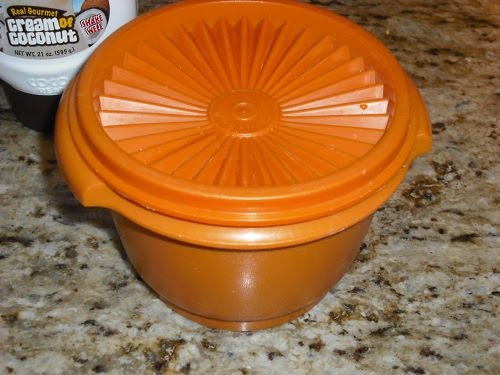
 Cover with Plastic wrap on the surface and chill at least 8 hour. (the colder the custard is, the smoother the final product from the churn)
 Prepare your ice cream maker.... Whether a frozen bowl type or one that needs ice and rock salt... Then turn it on and get it spinnin.
 Remove the mixture from the refrigerator and break it up slightly with a whisk.
 And pour in the custard while the machine is running. (this is an important step, it prevents lumps)
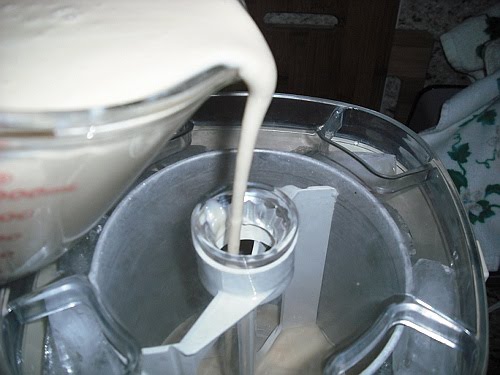 Churn until smooth and frozen.
 Depending on your ice cream maker, this may take any where from 20 to 30 minutes.... For a more gelato consistency, I stop the churn when it reaches almost to the top of the dasher, this keeps it from incorporating too much air, like ice cream. For ice cream, I let it climb over the top of the dasher to ensure it has been properly aerated.
 Remove the dasher and spoon the gelato into a container, then freeze for at least 8 hours.
 Now is the time to fold in any chocolate bits or broken whoppers, if you like.
 (I don't care for "stuff" in my gelato/ice cream, especially chocolate pieces and such, for I find the waxiness of frozen chocolate displeasing; thus I forwent any additions at this point)
BUT, I do enjoy things on top of my Gelato.
 A little Chocolate Syrup and a few broken Whoppers fit the bill quite nicely.However, I have an even MORE grandiose plan for this deliciously creamy and "malty" frozen treat. Let's just say, that the "Black & Tan" is getting a make over... Stay tuned........
Mangia!!
~~